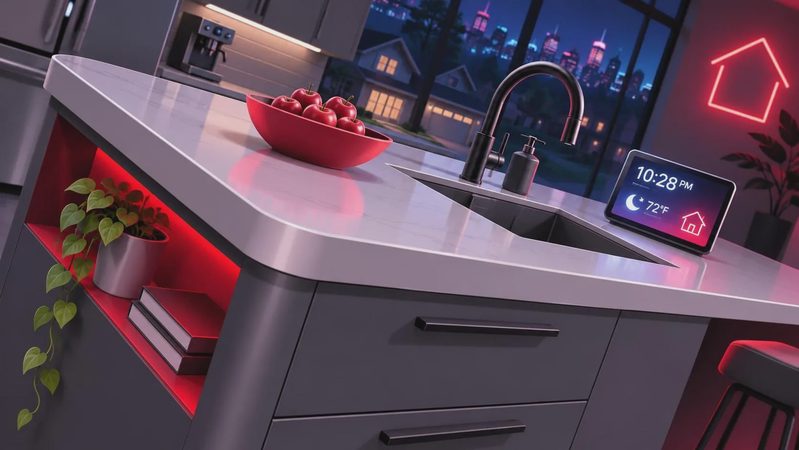
Picture a busy kitchen island: a cutting board on top, a step stool pulled up beside it, and a backpack nudged against the end. A waterfall island gives that exposed end a finished look by continuing the countertop material vertically down to the floor. It can be beautiful and practical, but it also costs more than a standard countertop and takes some planning around seating, outlets, and everyday bumps.
My short answer: choose this detail if the island end is visible and you love the uninterrupted look enough to pay for an extra piece of material and the fabrication. If your priority is squeezing in another stool or keeping the remodel budget flexible, a cabinet end panel can be a smarter choice.
What makes a waterfall island different?
On a conventional island, the countertop stops at the edge, with a cabinet panel or other finish below. A waterfall design carries the surface down one or both ends. The horizontal and vertical pieces are usually joined at the corner; the best fabricators make that joint look intentional rather than pretending it doesn't exist.
You can use the treatment on one end only, which is worth considering if the other end faces a wall or a bank of cabinets. A single finished end can give you the look without paying for two full-height panels. The trade-off is that an asymmetrical design needs to look deliberate from the room's main viewpoints.
The material matters as much as the shape. Quartz can offer a consistent appearance with relatively straightforward care, though heat and cleaning guidance vary by manufacturer. Granite offers natural variation, but ask your fabricator whether the particular slab needs sealing. Wood brings warmth and can be refinished, but it needs protection from standing water and regular attention to its finish.

Plan the layout before falling for the look
A waterfall island takes up real space at its ends. The thickness of the vertical panel, any supports, and the space needed to install it all affect the final footprint. Ask your designer or contractor to show those dimensions on the plan, not just the size of the cabinet boxes.
For a useful starting point, many kitchen plans aim for about 42 inches of clear width in a work aisle for one cook, or 48 inches for more than one cook. Measure between the finished surfaces, including countertop overhangs and appliance handles. Local requirements and the specifics of your layout may call for a different approach.
Then check what happens when things open. A dishwasher door, oven door, or refrigerator drawer can turn a comfortable-looking aisle into a bottleneck. Mark the proposed island footprint on the floor with painter's tape and stand there while another person walks through. Tape won't show you every clearance problem, but it makes a crowded passage much easier to spot.
The panel can also change seating. If stools sit along the long side, the waterfall end may limit how easily someone slides into the corner seat. If you want a stool at the end itself, a solid panel reaching the floor generally occupies that legroom. Sketch each seat with knees, elbows, and the path around the stool in mind; don't rely on the number of stools in a pretty rendering.
Choose the details that affect daily life
A waterfall island corner is especially visible, so discuss the edge and seam before anyone cuts the slab. A mitered edge joins two pieces cut at an angle, creating the appearance of a thicker, continuous surface. It looks crisp, but the corner can be vulnerable to chips. Ask whether a slight easing or rounding of the edge is possible without losing the look you want.
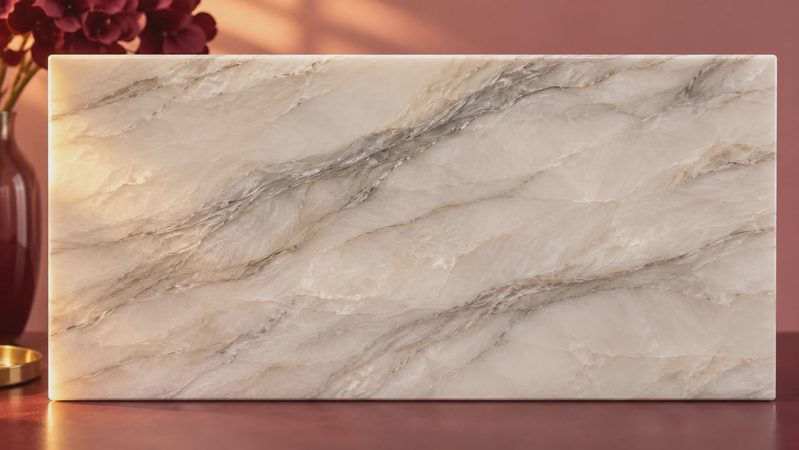
For veined stone or stone-look material, ask how the pattern will meet at the corner. A fabricator may be able to align the veining across the joint, but the result depends on the slab, the cut, and how much material is available. Request a layout showing the proposed cuts and seam location before fabrication. Pattern matching can mean buying more material, so get that cost in writing.
Think about the floor, too. The vertical panel needs a finished base and careful installation on an uneven floor. If you're replacing flooring, coordinate the sequence with the contractor and fabricator. You don't want to discover after installation that the new floor height changes the gap at the bottom.

Budget for more than the extra slab
The price of a waterfall island varies widely with material, panel size, local labor, and the complexity of the cuts. Rather than attaching a single dollar figure to it, ask for two itemized estimates: one for the island countertop with a standard finished end, and one with the waterfall panel. That comparison isolates the design choice from the rest of the kitchen budget.
Look for the additional material, fabrication, edge work, delivery, installation, and any cabinet modifications. If pattern matching requires another slab, ask whether the unused portion can be used elsewhere, such as on a backsplash or a small counter. Remnants may also be an option for a panel, although a separately sourced piece may not match the top.
A good place to save is the side nobody sees. Finish the visible end with the countertop material and use a matching cabinet panel on the other. Or put the money toward deeper drawers and easier-access storage, which may matter more on a Tuesday night than a second dramatic end.
Sort out outlets, support, and repairs early
A waterfall island still needs a practical electrical plan. Island receptacle rules depend on the electrical code adopted where you live and how it is interpreted locally. Ask your electrician and local building department about compliant locations before the cabinets and slabs are ordered. Do not assume an outlet can simply be added through a finished stone panel later.
The overhang needs a plan, too. Seating overhangs may require concealed brackets or other support, depending on the material, projection, and fabricator's requirements. Have the cabinet installer, fabricator, and contractor coordinate that support before templating, when the fabricator takes the final measurements for the countertop.
Finally, ask how chips and damage would be repaired, especially at the floor-level corner where a vacuum or toy truck might meet it. Save the material and finish information with your remodel paperwork. A repair may be possible, but an exact match is not guaranteed.
This week, tape out your proposed island, place a stool where each person would sit, and photograph the visible ends from the kitchen entrance. Take those photos and your two quote requests to the contractor. A great kitchen doesn't happen by accident. It happens by how you live in it.

No comments yet — be the first to share a thought.