Picture a busy kitchen at dinner: a step stool by the counter, fingerprints on the lower doors, and a pot threatening to boil over. Two tone kitchen cabinets can make that hardworking room feel more considered without making it precious. The most reliable approach is to choose one quieter finish for most of the cabinets and a second for a clearly defined area, such as the island or lower cabinets. Start with the surfaces you aren't replacing, then test your colors in the actual room.
Choose where the second color belongs
The easiest layout to get right is lighter upper cabinets with darker lowers. The light color keeps the wall of cabinetry from feeling heavy, while the deeper shade gives the room a visual anchor. Try warm white above and a muted green, navy, or charcoal below. Dark paint won't make fingerprints disappear, though; very dark, smooth doors can show smudges and dust readily.
An island in a contrasting finish is another forgiving option. If your perimeter cabinets are staying white, a wood-look or painted island can introduce warmth without requiring every door to change. This works especially well when the island is visually separate from the surrounding cabinets, rather than squeezed against them.
Two tone kitchen cabinets can also pair a tall pantry wall with a different finish on the rest of the room. Treat the pantry as one complete block, including its side panels and trim, so the shift looks intentional. I would avoid changing colors halfway across a continuous run of identical doors; the eye tends to read that as an interruption rather than a design choice.
Before settling on a division, stand at the entrance you use most. Notice which cabinet faces you see together, including the exposed side of the island. A plan that looks balanced on paper can feel lopsided when one dark end panel dominates the view from the hallway.

Pick a pairing that works with your counters
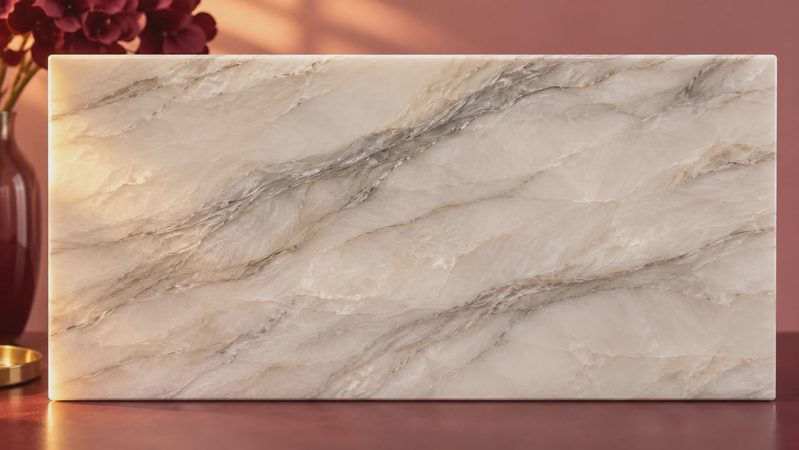
Your countertop is a useful starting point because it usually covers a large, horizontal surface and costs far more to change than a paint sample. Set color samples directly against it, not just against a white sheet of paper.
For a creamy or beige counter, look at warm white paired with medium wood or a soft olive. A stark, cool white can make a warm counter look yellower by comparison. That isn't necessarily wrong, but it's a contrast worth seeing before the cabinets are painted.
For a gray counter, try a gentle white with a deeper blue-gray or a natural wood finish. If the gray has a noticeable blue, green, or purple cast, check that your second cabinet color doesn't fight it. A sample that seemed neutral in the store can look surprisingly blue beside the wrong stone.
For a strongly patterned counter, let the cabinetry be the calm part of the room. Pull one subdued color from the counter's pattern, or choose a wood finish that complements its overall warmth. The goal isn't an exact match; it's a combination that lets the counter and doors share the room comfortably.
I like two tone kitchen cabinets best when the colors have a clear relationship: similar warmth, a shared muted quality, or enough contrast to look deliberate. Two almost-matching whites can be trickier than a white and a deep green because a slight mismatch may look accidental.
Test samples where the doors will live
Order or paint the largest samples you reasonably can, using the actual cabinet finish when possible. Place the lighter sample vertically at upper-cabinet height and the darker one near the floor or island. A color on a horizontal counter catches light differently from the same color on a vertical door.
Look at the samples in morning light, after sunset, and with your kitchen lights on. Move them next to the backsplash, flooring, and countertop. If you're keeping existing wood cabinets, compare the paint against a door, not just a small patch inside a cabinet: the visible finish may have changed with age and light.
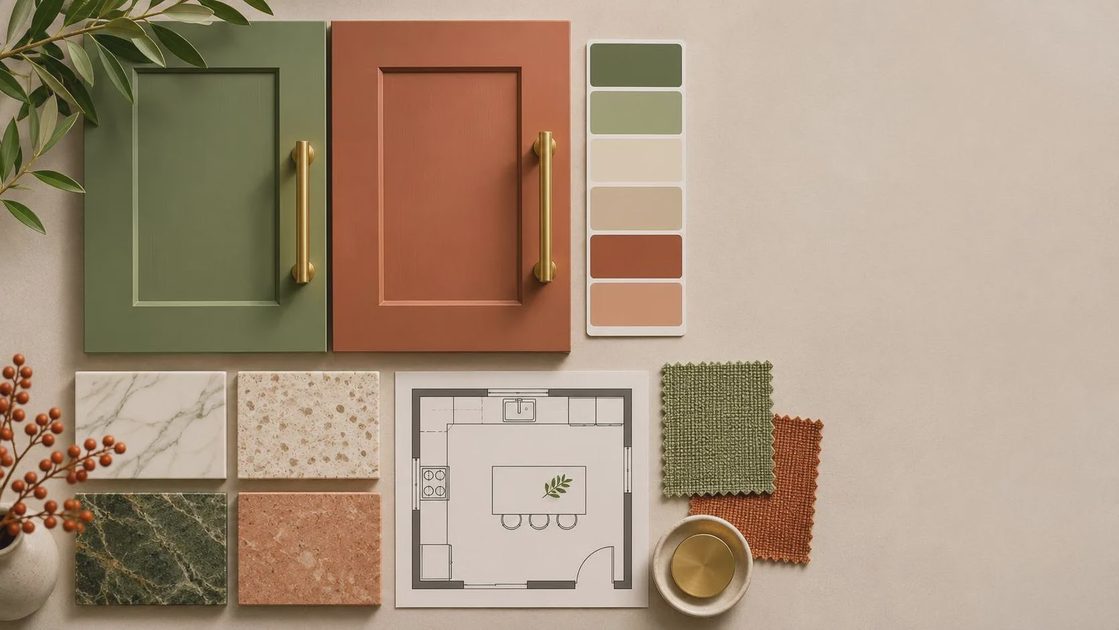
Live with the samples for several days, including a cloudy day if you can. Tape a note on each one so you remember which is which. Colors that look almost identical in a fan deck can separate dramatically once they're surrounded by tile and a wood floor.
Think beyond color: finish, cleaning, and hardware
With two tone kitchen cabinets, the sheen matters almost as much as the shade. A glossier surface reflects more light and can emphasize uneven preparation; a flatter surface may not be as easy to wipe clean, depending on the coating. Ask your cabinet painter or supplier which finish is intended for cabinetry and how it should be cleaned. Don't assume that any wall paint in the right color will stand up to cabinet duty.
If you're repainting existing doors, the preparation is part of the design decision. Grease around the range, loose finish, and worn edges need attention before the new coating goes on. Ask a professional what cleaning, sanding, priming, and curing steps the particular doors require. Factory-finished, laminate, and previously painted surfaces may need different preparation.
Hardware can help the two finishes feel connected. Using the same knobs or pulls throughout is a simple starting point. If you mix finishes, repeat each one somewhere else in the room, such as a faucet or light fixture, rather than making a single handle the odd piece out. Check handle dimensions against existing holes before ordering replacements; filling old holes adds work to a refresh.
Don't forget the small pieces around the doors. Decide in advance whether toe kicks, crown molding, exposed end panels, and the underside of upper cabinets will match the section they touch. These details are easy to overlook until a painter asks for an answer on the first morning of the job.
Keep the budget focused on visible changes
You don't need to replace every cabinet to get the effect. If the boxes and doors are sound, refinishing the island or a bank of lowers may be enough. Get a written estimate that separates preparation, painting, new doors, hardware, and any panel work so you can see where the money is going. Professional costs vary widely with the condition of the cabinets and the scope of the job.
This week, gather three things: a countertop sample or clear photo, a door or finish sample, and two cabinet color candidates. Put them together in the kitchen and check them under your evening lights. That small exercise can save you from choosing a beautiful color that only works in somebody else's showroom.

No comments yet — be the first to share a thought.