Last Saturday, Henry was standing on his step stool beside the kitchen island, sprinkling flour over the counter while Jack tried to move a cooling rack out of reach. I was making pancakes, answering a text from the contractor, and discovering that our supposedly generous walkway had become a traffic jam. The island looked lovely. It was also in the way.
That is the part of kitchen design catalogs I used to miss: a kitchen island is not just a centerpiece. It is a work surface, storage cabinet, homework desk, serving station, and occasional fort. The best one fits the way your household actually moves. Before choosing a color or countertop, measure the room, map your daily routines, and decide what the island needs to do on a Tuesday night.
Start With Clearance, Not Cabinet Color
The most important measurement around a kitchen island is the clearance between its sides and the surrounding cabinets or appliances. For a comfortable working aisle, I generally aim for 42 inches in a one-cook kitchen and closer to 48 inches where two people regularly prepare food. A walkway used mainly for passing through can be about 36 inches, but that is not enough space for open oven doors and busy chopping.
Use painter's tape on the floor to mark the proposed footprint for several days. Include the overhang for seating, which often extends 10 to 15 inches beyond the cabinet base. Open the dishwasher, refrigerator, and oven doors. Have someone stand at the sink while another person walks behind them. In my own kitchen, this simple test revealed that a 30-inch-deep island would work better than the 36-inch version I had sketched.
A compact kitchen island can be as small as 24 by 48 inches, although that leaves limited room for prep. A more useful 30-by-60-inch layout gives one cook space to set down a cutting board, mixing bowl, and sheet pan. Larger is not automatically better. An island that forces everyone to squeeze around it will cost more and make the room feel smaller.
Decide What the Kitchen Island Must Do
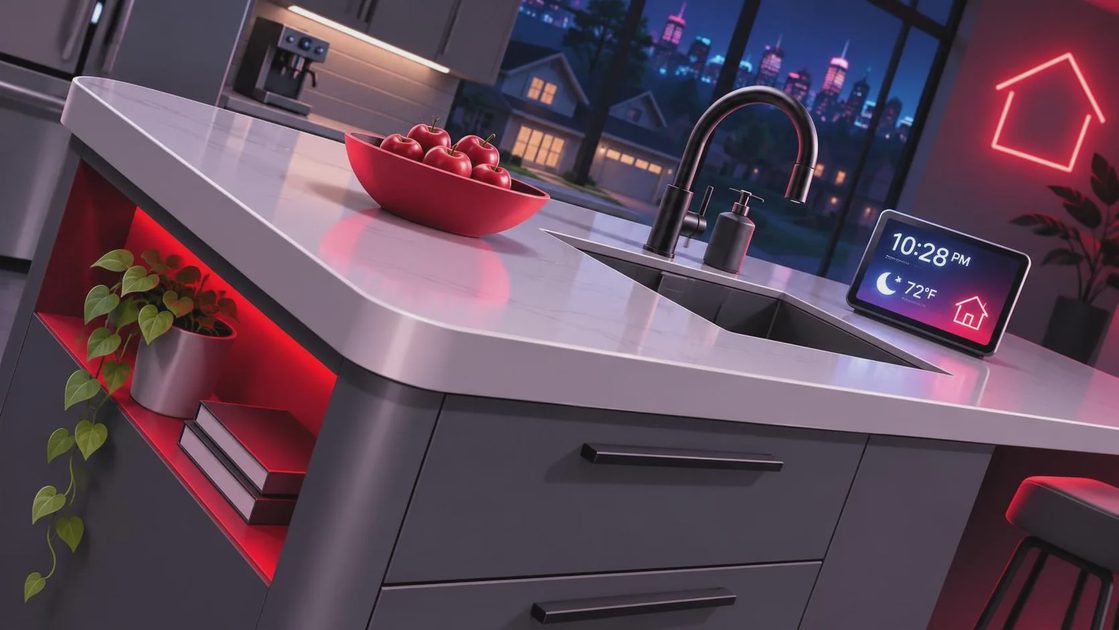
Write down the jobs before selecting the cabinet configuration. If you want extra prep space, prioritize a deep, durable counter near the refrigerator and sink. If storage is the problem, use wide drawers for pots, pans, and food containers instead of relying on narrow doors. A 36-inch drawer can hold a surprising amount, while a 12-inch cabinet often becomes a graveyard for awkward baking sheets.
For our family, the most valuable feature is a clear landing zone beside the refrigerator. Groceries can be unloaded there without covering the cooking counter. A drawer below holds lunch containers, and a shallow cabinet keeps Henry's plastic cups within reach. That arrangement costs less than adding a second sink and solves a daily irritation.
An island with a cooktop can be useful, but it changes the room's safety and ventilation needs. You will need proper electrical work, a suitable hood or ventilation system, and enough counter space on both sides for hot pans. I usually prefer leaving the cooktop on a wall run unless the room is large and the homeowner genuinely enjoys cooking while facing the rest of the household.
Seating That Does Not Steal Your Work Surface
Three stools look inviting in a showroom, but they need real knee space and elbow room. Allow approximately 24 inches of width per seat. A 72-inch island can fit three places at that guideline, while a 60-inch version is usually more comfortable with two. The counter overhang should be at least 12 inches for standard-height seating; deeper overhangs feel better for long breakfasts.
Counter-height seating is typically around 36 inches high, while bar-height seating is closer to 42 inches. I favor counter-height seating for families because it is easier for children to climb onto and more comfortable for everyday meals. Select stools with backs if people will sit there for more than ten minutes. Backless stools slide neatly underneath, but they rarely stay tucked away in a home with a five-year-old.
Think about where seated knees meet the cabinet. Sink bases, dishwasher panels, and deep drawers can make a comfortable-looking overhang unusable. A 15-inch seating overhang may require support brackets or hidden steel reinforcement, especially with a heavy quartz surface. Your fabricator should confirm the support plan before the countertop is ordered.

Storage Details That Earn Their Space
The most successful kitchen island storage is specific. A 24-inch drawer stack near the prep area can hold mixing bowls, measuring cups, and the $17 OXO peeler I use almost every day. A wide, shallow drawer is excellent for utensils. A deep drawer below it can hold a Dutch oven without forcing you to lift it over a cabinet door.
Reserve one cabinet for less attractive necessities, such as the toaster, rice cooker, and paper grocery bags. If you want a microwave in the island, place it where the primary cook can reach it without crossing a child’s path. Drawer microwaves are convenient but often add significant cost; a standard countertop model in a vented cubby can be a sensible alternative for a budget remodel.
Do not forget outlets. Most kitchen codes require receptacles in practical locations, but exact requirements differ by jurisdiction. Plan outlets before the counter is fabricated, and consider a pop-up or under-counter option if you dislike visible wall plates. Include charging space only if it will be easy to wipe clean. Crumbs and charging cables are not a charming combination.
Choose Materials for Actual Wear
Quartz is popular because it handles daily spills and does not require routine sealing, with many installed projects landing roughly between $70 and $140 per square foot depending on the slab, edge, and labor. Granite can offer a similar range and a naturally varied surface, though sealing and stone-specific care matter. Butcher block often costs less, commonly about $40 to $90 per square foot installed, and feels warm under bare elbows. It also needs oiling and more patience around standing water.
A kitchen island is where stools scrape, grocery bags land, and tomato juice gets forgotten under a cutting board. Look at samples in daylight and ask how a material handles heat, stains, and seams. I once specified a dramatic polished surface for a client who loved it in the showroom; after two weeks, she disliked every fingerprint. A quieter honed finish would have served her better.
For the cabinet base, paint can be beautiful but tends to show chips at corners and around stool areas. Wood grain hides small marks more forgivingly. If children are involved, choose a finish you can touch up and a counter edge without a sharp profile. Good design is not precious; it should survive pancake batter.
Lighting and Budget Planning
Layer the lighting instead of depending on one decorative fixture. Recessed or ceiling lighting should illuminate the work surface without putting your head in shadow. Two or three pendants can add personality over a longer island, but keep their bottoms high enough to preserve sightlines. In our kitchen, the pendant was installed too low, and Jack and I spent a week ducking under it until we raised it several inches.
For a basic cabinet-only kitchen island, budget roughly $1,500 to $4,000 for stock cabinetry and a simple top. A custom island with plumbing, electrical changes, premium hardware, and stone can easily reach $8,000 to $20,000 or more. Put money into the features that affect every meal: drawers, lighting, outlets, and clearance. Decorative legs and waterfall edges can wait if the budget is tight.
Before ordering, make a final checklist: tape the footprint, verify appliance-door clearance, confirm seating width, identify each drawer's purpose, plan outlets, approve the countertop edge, and price installation separately. A great kitchen doesn't happen by accident. It happens by how you live in it. This week, spend 20 minutes with painter's tape on the floor. That small experiment can prevent a very expensive, very permanent mistake.


No comments yet — be the first to share a thought.