The first time I tried to make banana ice cream, Henry was standing on the step stool in dinosaur pajamas, pressing the blender button with both hands. The result was cold, sweet, and absolutely nothing like ice cream. It was more of a banana snowbank. After a few trials, I learned how to make banana ice cream with the right banana ripeness, freezing method, and a little patience. The good news is that you do not need an ice cream maker or a perfectly styled kitchen. A $35 food processor, a freezer-safe container, and three very ripe bananas will get you most of the way there.
Choose bananas that are sweet enough
The freezer does not make fruit sweeter, so the bananas need to do that work before they go in. Look for bananas with plenty of brown spots, not bananas that are still firm and pale yellow. The darker the spots, the more concentrated the natural sweetness and banana flavor. I use three medium bananas, which makes about two generous servings or four small scoops for children.
Peel the bananas before freezing. I learned this after trying to remove frozen peels while Jack was making coffee, which turned a five-minute dessert into a small kitchen argument. Slice the fruit into half-inch coins and arrange the pieces in one layer on a parchment-lined sheet pan. Freeze them for at least four hours, although overnight is easier. A flat layer prevents the pieces from freezing into one giant banana brick.
If you have bananas that are already too soft for the fruit bowl, this is an excellent rescue plan. Slice them, freeze them, and label the bag with the date. Frozen bananas keep their best texture for roughly one month, though they remain usable longer if they do not develop freezer burn.
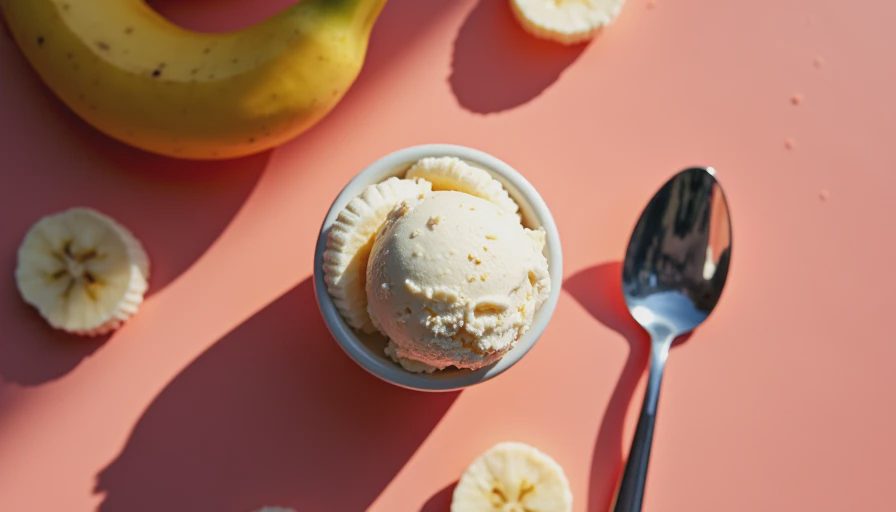
How to make banana ice cream without an ice cream maker
Once the banana pieces are solid, place them in a food processor. A 7-cup Cuisinart works comfortably, but a smaller processor can handle the batch if you pause to scrape the sides. A high-powered blender, such as a Vitamix, also works, but you will probably need the tamper and a splash of milk to keep the mixture moving.
Pulse the bananas several times first. They will look like chopped pebbles, then crumbly oatmeal, and finally thick soft serve. This transformation can take two to four minutes, depending on your machine and how long the fruit sat at room temperature. Stop to scrape down the bowl whenever the pieces climb the sides. Rushing this step leaves hard chunks; adding too much liquid creates a smoothie.
For a smoother result, add one tablespoon of milk, oat milk, or half-and-half at a time. Start with one tablespoon and stop as soon as the blade can turn easily. Two tablespoons is usually plenty for three bananas. A teaspoon of vanilla extract and a small pinch of kosher salt make the flavor taste more like a finished dessert rather than blended frozen fruit.
The mixture is ready when it resembles soft-serve ice cream and holds a soft peak. You can eat it immediately, or transfer it to a shallow loaf pan and freeze it for one to two hours. A shallow container freezes more evenly than a deep plastic tub and makes scooping less frustrating later.
Mix-ins that improve the texture and flavor
Plain banana is lovely, but it can become one-note after a few bites. Stir in two tablespoons of peanut butter for a richer, almost milkshake-like flavor. Almond butter works too, although its flavor is more subtle. For crunch, add chopped toasted walnuts, mini chocolate chips, or crushed graham crackers after processing rather than before. Running them through the blade can turn pleasant pieces into gritty crumbs.
Cocoa powder is another reliable addition. Start with one tablespoon, taste, and add another if you want a darker chocolate flavor. Henry prefers two tablespoons of mini chocolate chips and no cocoa, while I like one tablespoon of cocoa plus a pinch of salt. This is one of those recipes where the family can divide the base into bowls and customize each serving.
For a fruitier version, blend in a handful of frozen strawberries or raspberries. Use no more than one cup of berries for three bananas, or the mixture can become icy and sharp. A tablespoon of maple syrup is useful only when the bananas were not especially ripe. Very ripe bananas usually provide enough sweetness on their own.
The freezer details that make a difference
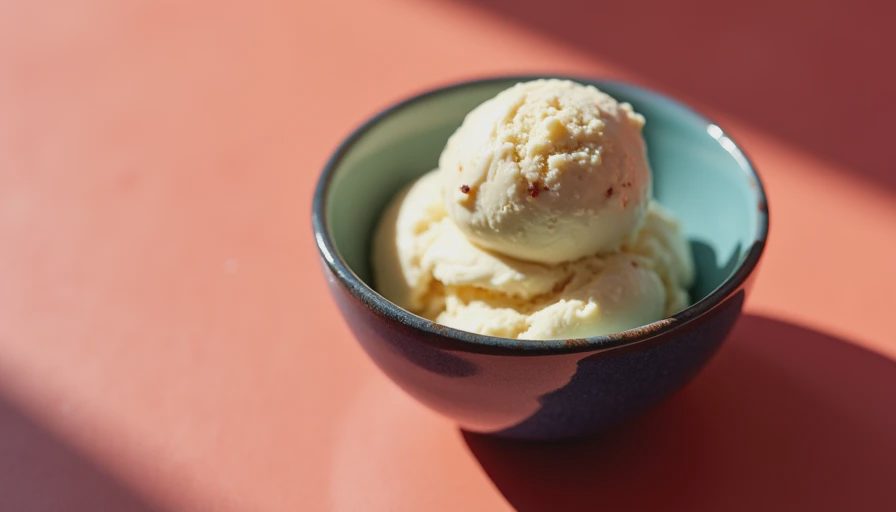
Freshly processed banana ice cream is soft and spoonable, but it firms considerably after freezing. Use a shallow metal loaf pan or a 2-quart freezer container. Press parchment or plastic wrap directly against the surface before adding a lid. That small step limits ice crystals and helps preserve the creamy texture.
When you want to serve it, let the container sit on the counter for 10 to 15 minutes. Do not microwave the entire batch. The edges will melt before the center softens, leaving you with an uneven texture that refreezes poorly. A sturdy ice cream scoop dipped in warm water makes neat portions, while a regular tablespoon is perfectly adequate for a Tuesday-night dessert.
For the best texture, plan to eat the batch within three days. It remains safe in the freezer beyond that time, but it can become harder and icier. If it freezes solid, let it soften, cut it into chunks, and process it again for 30 to 60 seconds. That second blend usually brings back much of the original creaminess.
How to make banana ice cream for different kitchens
You do not need a large appliance to make this dessert. In a small apartment kitchen, a compact food processor can handle half a batch using one or two bananas. Process in short bursts and scrape often. If you only have a blender, use slightly softened banana pieces and add the minimum liquid needed to create movement. A narrow blender jar may require more stopping and stirring than a wide processor bowl.
A hand mixer is not a good substitute because frozen banana pieces are too firm and irregular. An immersion blender can work once the fruit has softened for several minutes, but it tends to leave chunks unless you use a narrow container. The tool matters less than keeping the frozen pieces small before they go into the machine.
This recipe is also useful during a kitchen remodel, when the full-size refrigerator may be boxed in and the countertop appliances are doing all the work. I have made it in a temporary setup with a borrowed processor, a baking sheet, and a freezer drawer. Good food does not require a showroom kitchen; it requires a method that fits the way you actually live.
Common questions before you start
Can you make banana ice cream with only bananas? Yes. The result will be sweet and creamy, though vanilla and salt add balance. Can you use frozen banana halves? You can, but slices process faster and place less stress on the blade. Can you make it ahead? Yes, but give it a short thaw before scooping. Can you use bananas without brown spots? You can, but the finished dessert will be less sweet and more starchy.
The easiest approach to how to make banana ice cream is to freeze ripe slices, process them patiently, add only a tablespoon or two of liquid if necessary, and serve the mixture before it turns rock hard. Start with the basic three-banana version this week, then try peanut butter or cocoa in the next batch. A great kitchen does not happen by accident. It happens by how you live in it.

No comments yet — be the first to share a thought.