The first clue that my oven needs attention is usually a smoky 9 p.m. dinner and Henry asking whether the casserole is supposed to smell like a campfire. Learning how to clean an oven is less about finding a miracle product and more about using the right method for the kind of grime you have. A little preparation turns an unpleasant Saturday project into a manageable hour.
Before you start, make sure the oven is completely cool and remove every rack, thermometer, pizza stone, and loose pan. Open a window, switch on the range hood, and put an old towel under the door. If you have a gas oven, do not spray cleaner into the burner openings. For any appliance, check the manufacturer’s care guide before using commercial chemicals or the self-clean cycle.
How to clean an oven with baking soda and vinegar
For ordinary grease, a baking soda paste is my preferred starting point. It is inexpensive, low-odor, and forgiving around a busy family kitchen. Mix one-half cup of baking soda with 3 tablespoons of water, adding a few drops more water only if needed. You want a spreadable paste, not a thin liquid that runs into the heating elements.
Use a damp sponge to wipe out loose crumbs first. Then spread the paste across the oven floor, back wall, and sides, avoiding the heating elements, gas vents, and door gasket. Leave it for at least 8 hours, or overnight if the buildup is thick. The alkaline paste softens baked-on grease while it sits, which is why scrubbing immediately usually feels like trying to erase a pencil mark with a brick.
The next morning, loosen the residue with a plastic scraper or an old gift card. Wipe repeatedly with warm water, rinsing the cloth between passes. A spray bottle of equal parts water and white vinegar can help dissolve the final chalky film, but vinegar is a finishing step, not a substitute for soaking. Do not mix vinegar directly into a bowl of baking soda and expect a stronger cleaner; the fizz is mostly a brief chemical reaction, not extra cleaning power.
Cleaning oven racks, trays, and the door glass
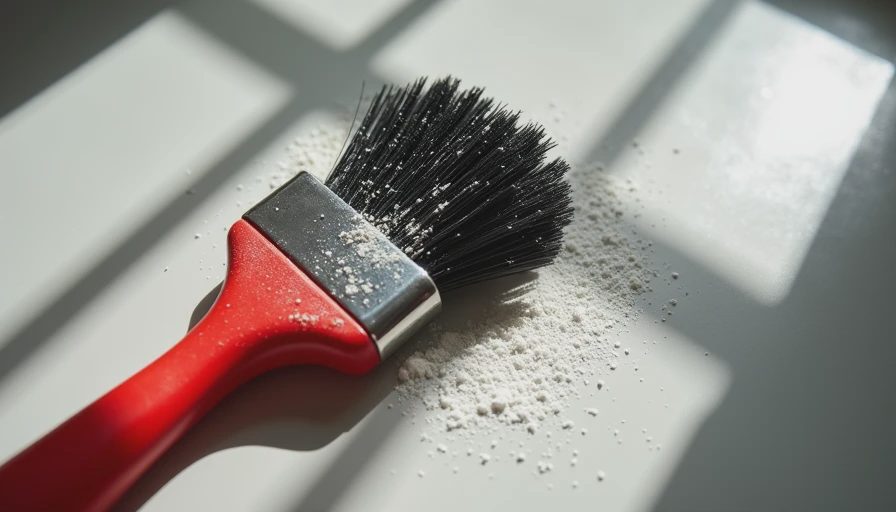
Oven racks deserve their own plan. Soak them in a bathtub or large plastic storage bin lined with an old towel to prevent scratches. Cover the racks with very hot water and add a few tablespoons of dish soap. Let them sit for 2 to 4 hours, then scrub with a non-scratch pad. A $10 nylon dish brush reaches the corners better than a flat sponge, and it is easier to rinse afterward.
For stubborn black spots, make a second baking soda paste and apply it directly to the rack. Avoid steel wool on shiny or coated racks because it can leave scratches that collect grime later. Dry everything fully before putting the racks back. If they slide roughly, a tiny amount of vegetable oil rubbed onto a paper towel can help, but remove excess oil so it does not smoke during the next bake.
The inner door glass often looks worse than the oven itself. Apply a thin layer of paste, wait 20 minutes, and wipe with a microfiber cloth. Use a plastic scraper for flat glass only, keeping it nearly parallel to the surface. Do not force tools into the door vents or gasket. Some doors have removable inner panels, but disassembling one without the manual can create an alignment problem that is much more expensive than a cloudy window.
When commercial oven cleaner makes sense
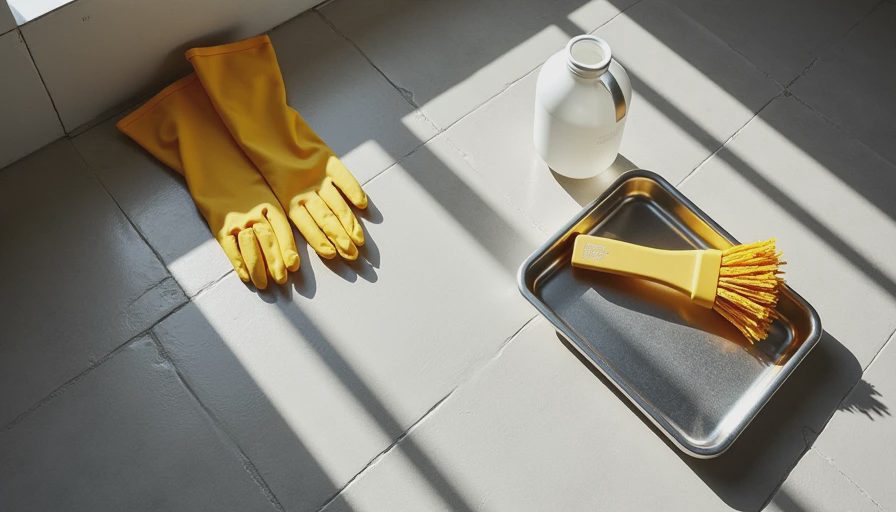
If the oven has years of carbonized spills, a commercial product can save considerable effort. Choose a cleaner labeled for ovens and follow its instructions exactly. Wear chemical-resistant gloves, protect the floor and nearby cabinets, and keep children and pets out of the room. Never combine commercial oven cleaner with bleach, ammonia, vinegar, or another cleaning product.
Spray only the surfaces the label permits. Most products should stay away from heating elements, aluminum parts, exposed wiring, and the door gasket. Give the cleaner its full recommended dwell time; wiping it off after five minutes often leaves you with both chemical residue and the original grease. Rinse with several clean, damp cloths before heating the oven again.
I use this stronger route only when the interior has thick, sticky layers that baking soda cannot soften. For a regularly maintained oven, dish soap and a baking soda paste usually provide enough cleaning power without the strong fumes. A $6 bottle of cleaner is not a bargain if it damages a $900 appliance part.
Should you use the self-clean cycle?
The self-clean setting heats the oven to an extremely high temperature, turning food residue into ash that you wipe away afterward. It can be useful, but it is not a casual substitute for routine cleaning. Remove racks unless your manual specifically says they can stay inside, wipe out heavy grease first, and ventilate the kitchen. The cycle can produce smoke and a noticeable odor, especially in an oven that has not been cleaned for years.
Never leave the house while self-cleaning, and keep pets away from the kitchen. If smoke becomes heavy, cancel the cycle and let the oven cool before investigating. Older appliances can have trouble with the intense heat, so the owner’s manual matters here. For a light spill, hand cleaning is faster and gentler. I save self-cleaning for a genuinely dirty interior, not a few tomato splatters.
A practical cleaning schedule for real kitchens
A quick wipe after a bubbling pie or lasagna prevents the hardest buildup. Once the oven is cool, lift out loose pieces and wipe the floor with a damp cloth. Do not wipe a hot surface, and do not pour water into the bottom of the oven. That can damage components and create steam burns.
Every 6 to 8 weeks, inspect the door glass, rack edges, and corners. If you bake bread, roast vegetables, or use the broiler often, monthly attention is more realistic. Put a rimmed baking sheet on a lower rack when cooking something likely to bubble, but never line the oven floor with foil. Foil can trap heat and interfere with airflow or damage the surface.
For a move-out clean, allow a full afternoon rather than rushing. Remove racks, soak them first, clean the interior, then finish the glass and exterior controls. Photograph the appliance before and after if you are renting. It is a simple record of the condition you left behind.
The safest final steps
After you learn how to clean an oven, the last steps are just as important as the scrubbing. Wipe every interior surface with clean water until no powdery or chemical residue remains. Reinstall dry racks, check that the gasket sits flat, and run the empty oven at 250 degrees Fahrenheit for 15 to 20 minutes with ventilation. Stop if you notice heavy smoke or a sharp chemical smell.
Clean the exterior with warm water and a little dish soap, using a stainless-steel cleaner only if the appliance’s finish allows it. Dry with the grain to prevent streaks. My final test is simple: bake a small tray of biscuits before planning a holiday roast. If the kitchen smells clean and the oven heats normally, the job is done.
A great kitchen does not happen by accident. It happens by how you live in it. Set a calendar reminder for a quick wipe this week, and the next deep clean will be a small maintenance task instead of a smoky weekend emergency.





No comments yet — be the first to share a thought.