Last Tuesday, Henry helped me make pancakes, which sounds charming until you picture syrup on the cabinet pulls, flour on the floor, and a mixing bowl blocking the only clear stretch of counter. That small disaster is exactly why a kitchen remodel should begin with your daily routines, not a photograph from a showroom. The prettiest room still fails if two people cannot pass each other, the trash is 12 feet from the prep area, or the toaster has nowhere to live.
After eight years designing residential kitchens, I have learned that the best plans are specific. Measure the wall where your coffee maker sits. Notice who unloads the dishwasher. Count how often you use a stockpot. A great kitchen does not happen by accident. It happens by how you live in it.
Start With Traffic, Not Cabinet Color
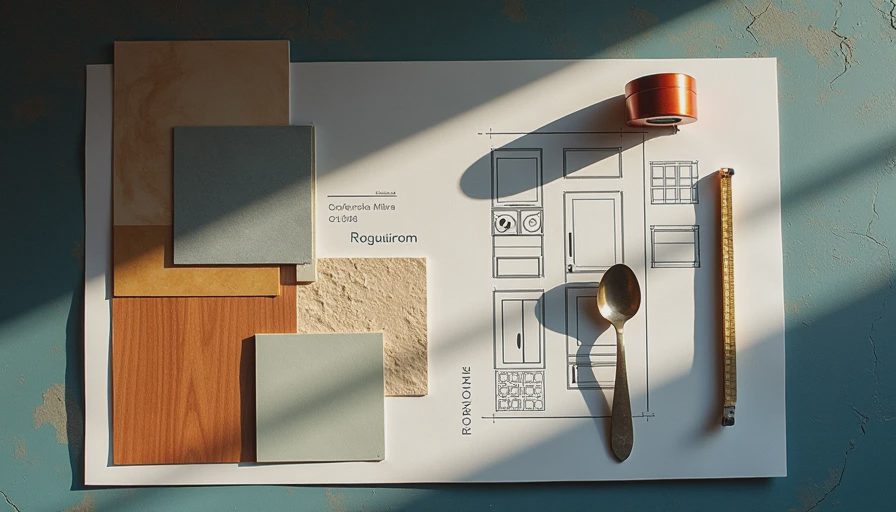
Before choosing paint or quartz, draw the room on graph paper. Mark doors, windows, heating vents, plumbing, and the direction each door swings. Then sketch the refrigerator, sink, cooktop, and primary prep surface. The classic work triangle is useful as a starting point, but modern kitchens often need several small work zones instead of one perfect triangle.
For example, I like a refrigerator landing area of at least 15 inches on the handle side when space allows. A sink deserves clear counter space nearby for setting down a colander, while the dishwasher should be close enough that unloading does not require crossing the room. Leave roughly 42 inches between opposing counters for one cook; 48 inches feels much better when a child, partner, or dog joins the traffic.
During a kitchen remodel, tape the proposed cabinet edges on the floor with blue painter's tape. Walk the route while carrying a full laundry basket. Open an imaginary oven door. Stand at the sink and ask whether the refrigerator blocks your path. This inexpensive test often catches a $5,000 layout mistake before demolition begins.

Spend the Budget Where Your Hands Work
Cabinet boxes, drawers, and hardware usually affect the room more often than decorative details do. Deep drawers near the cooktop can hold pans and lids without the familiar avalanche inside a lower cabinet. Full-extension runners let you reach the back, and soft-close hinges reduce the daily slam that eventually irritates everyone in the house.
I am happy to save on a simple laminate interior or a standard cabinet finish when the construction is sound. I am less enthusiastic about saving on drawer hardware or installation. A $35 pullout for baking sheets can prevent years of kneeling on the floor, while a carefully placed $12 knob can make a frequently used cabinet easier for smaller hands.
For a typical midrange kitchen remodel, cabinets, labor, appliances, counters, flooring, lighting, and permits can quickly reach $30,000 to $75,000, with major structural changes pushing higher. The useful question is not whether one quote is cheap. Ask what is included: demolition, disposal, delivery, trim, electrical updates, plumbing, painting, and final touch-ups.
Choose Materials for Tuesday Night
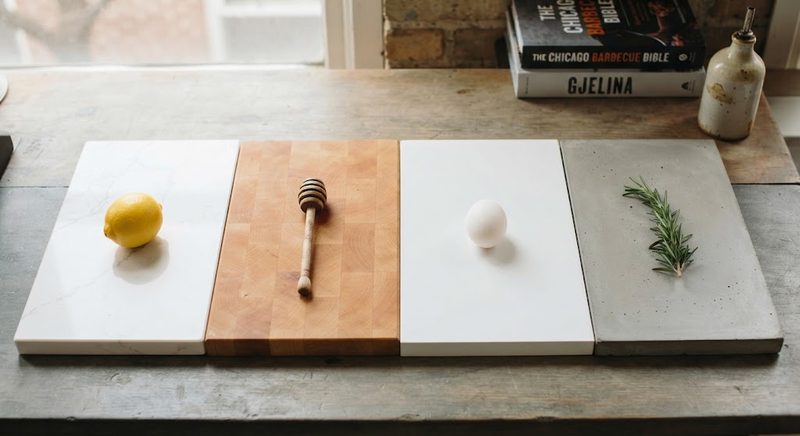
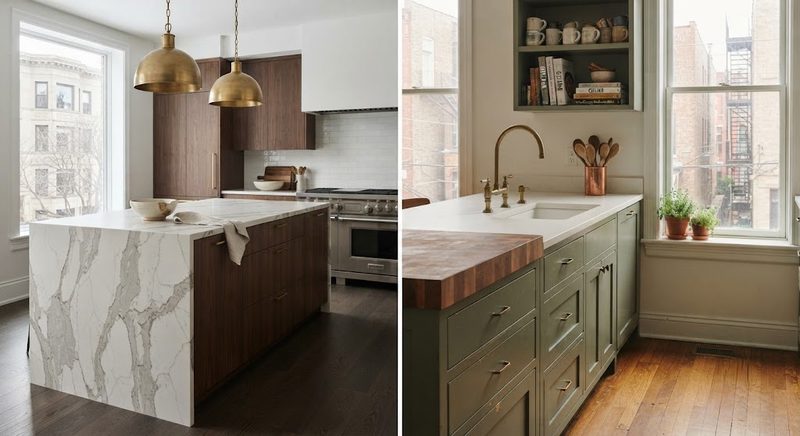
A countertop sample under showroom lighting can be misleading. Bring samples home and look at them beside tomato sauce, a wet dish towel, and your actual cabinet color. Quartz is popular because it is low-maintenance and available in many patterns, but it is not indestructible and still benefits from trivets. Granite offers natural variation and durability, while butcher block brings warmth but needs regular care around wet areas.
For flooring, test a sample with a dropped wooden spoon and a damp sock. Wood, luxury vinyl, porcelain tile, and other materials each create a different relationship with noise, cleaning, and standing comfort. I once specified a beautiful polished tile for a client who loved the look; after installation, every crumb announced itself. A honed or textured surface would have been kinder to that household.
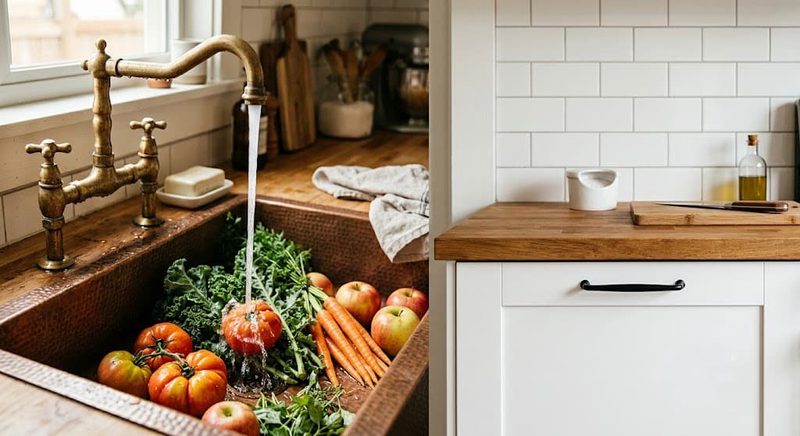
A kitchen remodel should also account for maintenance. Can you wipe the backsplash without catching a cloth on deep grout lines? Will the cabinet color disguise fingerprints from a five-year-old? Is the faucet finish easy to clean where hard-water marks appear? These are not boring questions. They are the difference between enjoying the room and constantly managing it.
Layer the Lighting Before the Drywall Closes
One ceiling fixture rarely provides enough light for chopping, reading a recipe, and finding a dropped Lego. Use three layers: ambient light for general visibility, task light over counters, and accent light for shelves or architectural details. Under-cabinet LED strips usually provide more useful illumination than small puck lights because they reduce bright spots and shadows.
Place task lighting toward the front of the upper cabinet or beneath it, rather than against the wall. That puts light on the cutting board instead of casting your body shadow across it. Warm-neutral color temperatures around 2700K to 3000K generally feel comfortable in a home kitchen. Add dimmers where practical, and plan switch locations before cabinets are ordered.
Appliance decisions deserve the same practical attention. A 30-inch range may be plenty for a family cooking one meal at a time, while a 36-inch model can consume valuable prep space. Dishwashers from Bosch, KitchenAid, and other established lines offer different rack layouts and cycle options; compare the interior with your own plates, lunch containers, and tall glasses rather than choosing by logo alone.
Make the Contractor Conversation Concrete
Get a written scope before work starts. It should identify cabinet style, countertop thickness, backsplash limits, appliance installation, electrical work, plumbing allowances, debris removal, and the process for approving changes. A vague line such as “install kitchen” leaves too much room for expensive interpretation.
Ask how the contractor handles damaged materials, delayed appliances, and discoveries behind the wall. Confirm who pulls permits when they are required and when inspections occur. References are helpful, but look at completed work that is at least several months old. Freshly photographed rooms do not show how trim meets the floor or whether cabinet doors remain aligned.
Build a temporary kitchen before demolition. Our setup included a microwave, electric kettle, compact refrigerator, paper plates, a $17 OXO peeler, and one cast-iron skillet. We put it in the dining room for six weeks. It was not glamorous, but we kept eating breakfast at home and avoided spending $25 per person on emergency takeout every night.
A Simple Kitchen Remodel Checklist
Start with a one-week observation period. Write down every annoyance: the drawer that hits the dishwasher, the outlet hidden behind the coffee machine, the missing landing space beside the oven, and the pantry shelf that forces you to remove six cans to reach one. Those notes are more valuable than a pile of saved images.
Next, set three budget priorities. Mine would be durable drawer hardware, excellent task lighting, and a generous prep surface. Someone else may choose a quiet dishwasher, a larger refrigerator, or accessible storage. Keep a separate contingency reserve of roughly 10 to 20 percent for concealed plumbing, electrical surprises, or material damage.
Finally, review the plan at breakfast and dinner. If the refrigerator door, dishwasher, and trash pullout all compete for the same 36-inch corner, revise it. If the room supports your actual hands, habits, and messes, it is ready. This kitchen remodel does not need to impress a catalog photographer. It needs to make pancakes easier on Tuesday night.
No comments yet — be the first to share a thought.