Last Tuesday, Henry was cracking eggs into a bowl and I was leaning over the counter trying to see if the pancake batter had lumps. The answer? I couldn't tell, because our single overhead light was casting my own shadow across the bowl. That's when I decided to fix the kitchen lighting in our Chicago house for real. After a decade of designing kitchens, I knew the principles. I just hadn't applied them to my own space. If you've ever chopped carrots in your own shadow, you know exactly why kitchen lighting deserves a chapter of its own.
Why Good Kitchen Lighting Isn't Optional
Most people think about cabinets, countertops, and appliances first, and kitchen lighting gets tacked on at the end. That's a mistake. A gorgeous kitchen with one glaring ceiling light still feels like a cave at dinner time. Bad lighting doesn't just look bad; it makes daily life harder. Knife work gets sketchy, recipe reading turns into squinting, and everything you cook looks unappetizing under a cold, flat wash of light. The fix isn't buying the biggest fixture you can find. It's creating a system that works for the way you actually cook and eat.
The Three Layers: Ambient, Task, and Accent
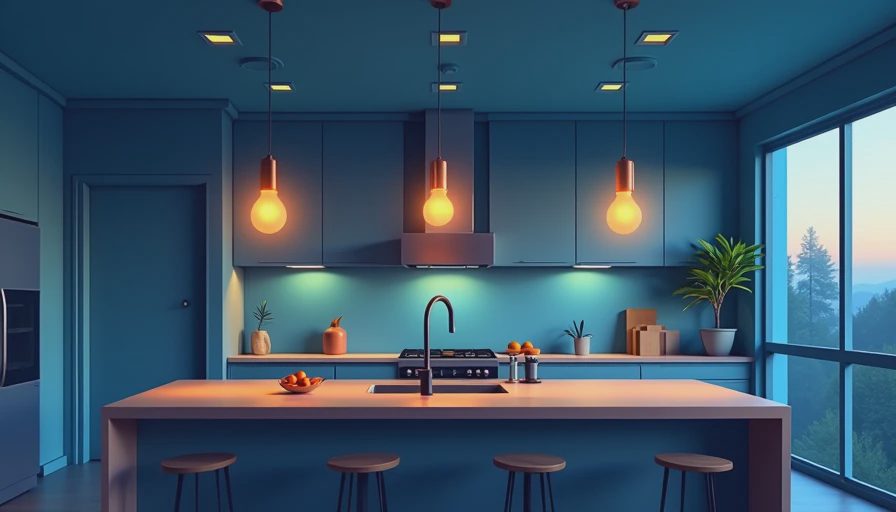
Professional designers talk about lighting in layers, and the concept is simpler than it sounds. Ambient light is your general fill light, usually from ceiling fixtures or recessed cans. Task light is the focused beam that lands exactly where you're working: over the sink, the stove, and the main prep zone. Accent light is the mood layer — under-cabinet strips, inside a glass-front cabinet, or a small pendant over a breakfast bar. You need all three. In a typical kitchen lighting plan, ambient covers the room, task covers the counters, and accent covers the details. Skip one layer and you'll feel it every night.
Pendants, Recessed Cans, and Track: What to Pick
Island pendants are the piece everyone asks about first. Hang them 30 to 36 inches above the countertop if you want light on the surface and a clear sightline across the room. Glass or open-bottom shades throw more light downward; solid metal shades create a pool of light but keep the beam tighter. The trick is choosing the right size: roughly one pendant for every two feet of island length is a safe rule. For the rest of the ceiling, recessed cans are the classic choice. They disappear into the ceiling and give you even coverage. Track lighting gets less love, but it's genuinely useful for angling light toward a sink or coffee station. Many clients worry recessed cans cost a fortune, but a 4-inch LED trim from Juno or Halo runs about $20 to $40 per fixture.
Under-Cabinet Lights Do the Heavy Lifting
If you only invest in one layer of kitchen lighting, make it under-cabinet. This is where prep actually happens, and a strip of LED tape beneath the upper cabinets eliminates shadows on the countertop completely. I swapped our old fluorescent fixture for a simple LED tape system from IKEA, about $30 for the kit, and the difference was immediate. You can also buy plug-in puck lights for around $15 each if you're renting and can't hardwire. Look for a color temperature around 3000K, which reads warm and food-friendly. A dimmer switch is worth the extra $20, because bright prep light at noon should feel different from soft light at 9 p.m.

Bulb Basics: Kelvin, CRI, and Dimmers
The fixture is only half the story; the bulb is the muscle. Kelvin numbers tell you color: 2700K is warm and yellow, 3000K is neutral warm, 4000K is cool and clinical. For kitchen lighting, 3000K is my go-to because it looks like daylight in the evening without making food look washed out. CRI, or color rendering index, measures how faithfully colors appear under the bulb. Look for a CRI of 90 or higher, especially over the sink and prep areas. That's the difference between raw chicken looking pink or grey. Dimmers let one fixture serve many moods. A dimmable LED bulb costs $10 to $15, and a basic dimmer switch runs $20 to $40. That's what turns a functional kitchen into a place you actually want to hang out in.
Where to Splurge and Where to Save
You don't need to spend six figures to get good kitchen lighting. In my last refresh, I spent about $400 total and completely changed the room. Splurge on the pendants over an island if you want them to anchor the design; a good vintage-style pendant from Schoolhouse Electric runs $200 to $400 each. Save on the recessed cans; a builder-grade LED trim that's dimmable and high-CRI will do everything you need. Under-cabinet LED tape from a reliable brand costs $30 to $60. Hiring an electrician to add a few new circuits runs $150 to $500 depending on your area. The hidden cost most people forget is the switch that controls it all, but a smart dimmer from Lutron at around $50 is money well spent.
The Takeaway: Start With One Change This Week
You don't have to redo your entire electric plan overnight. Pick the one spot in your kitchen that annoys you most — I bet it's the prep zone — and solve that first. Swap in a 3000K LED bulb, add an under-cabinet strip, or move a lamp onto the counter. A great kitchen doesn't happen by accident. It happens by how you live in it. Good kitchen lighting is the fastest way to make yours feel like a room you want to spend time in.





No comments yet — be the first to share a thought.