At 6:15 on a Tuesday, I opened the utensil drawer and found three measuring cups, a birthday candle, Henry's toy screwdriver, and exactly none of the teaspoons I needed. A kitchen drawer organizer is supposed to prevent that small daily irritation, but the wrong one simply creates tidy-looking compartments that do not fit your actual tools. After designing dozens of kitchens and testing organizers in my own Chicago home, I have learned that the best solution starts with how you cook, not how a catalog arranges forks.
Start with the drawer, not the product
Measure the inside of the drawer box, not the cabinet opening. You need the usable width, depth, and height after accounting for slides and any screws. A drawer that looks like it is 24 inches wide might offer only 20 1/2 inches of interior space. Write those numbers down before shopping for a kitchen drawer organizer.
Then empty the drawer onto a counter. Group items by use: everyday flatware, cooking utensils, baking tools, small gadgets, or coffee supplies. Notice what you reach for daily. My most-used drawer holds a 10-inch chef's knife in a low-profile insert, tongs, a fish spatula, a silicone scraper, and measuring spoons. The melon baller and corn holders live elsewhere because they do not deserve premium real estate.
A useful rule is to leave about 10 percent of the drawer open. That breathing room makes it easier to return tools after washing them, especially when a five-year-old is helping and putting everything away with enthusiastic inaccuracy.
Choose the right style for your cooking habits
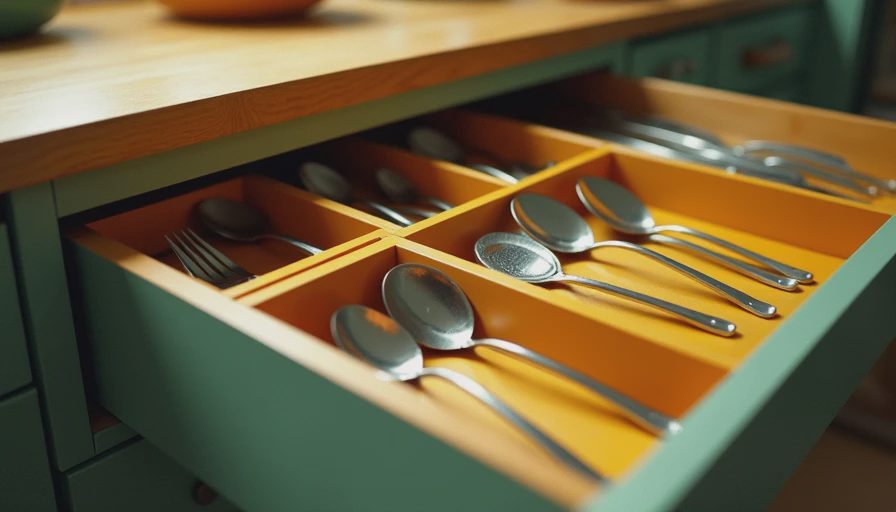
A tiered kitchen drawer organizer works well for flatware because forks, knives, and spoons remain visible without spreading across a wide drawer. Look for rounded corners and removable trays. The Joseph Joseph DrawerStore is a familiar example of a compact, angled design, while simple bamboo trays from brands such as Rev-A-Shelf or madesmart offer a more traditional arrangement.
For cooking utensils, long compartments are more practical than six tiny squares. A 15-inch tray can hold a whisk, ladle, tongs, and spatula without forcing handles diagonally. Adjustable dividers are helpful when your collection changes, but inexpensive plastic dividers can slide when a drawer is slammed. Cork feet, rubber grips, or a fitted frame solve that problem better than decorative construction alone.
If you bake often, dedicate a drawer to measuring cups, rolling tools, pastry brushes, and cookie cutters. A kitchen drawer organizer with adjustable pegs can keep small cutters from becoming a metal pile. For knives, use a drawer insert with protected slots rather than dropping blades into a general utensil tray. Bamboo, walnut, and washable polymer are all reasonable choices; the safest option is the one that keeps each blade separated and secure.
Materials, cleaning, and durability
Bamboo looks warm and costs roughly $20 to $60 for a standard flatware tray. It is a good fit for a dry drawer and a homeowner who wants furniture-like detail. Wipe spills promptly, because standing water can swell the material at its joints. I once left a damp dishcloth over a bamboo insert for a weekend, and the raised edge never completely returned to its original shape.
Plastic and polymer organizers usually cost $10 to $35. They are forgiving around wet utensils and easy to lift out for cleaning. The tradeoff is visual: very light plastic can feel temporary, and smooth surfaces sometimes allow tools to rattle. Look for textured bases or nonslip feet instead of assuming every kitchen drawer organizer will stay put.
Metal mesh trays offer a clean, open appearance and can be useful for narrow drawers. However, small items can catch in the mesh, and metal edges need a smooth finish. Avoid any insert with sharp corners, exposed fasteners, or gaps where a child's finger could get pinched. A quick wash with warm water and dish soap should be possible for anything holding cooking tools.
Make the layout easy to maintain
Put the drawer closest to the dishwasher to work first. If that drawer holds everyday forks and spoons, unloading becomes a simple sweep instead of a sorting project. Cooking tools belong near the prep area, not necessarily beside the range. This distinction matters in a small kitchen: a utensil needed while chopping onions should be reachable without crossing a hot burner.
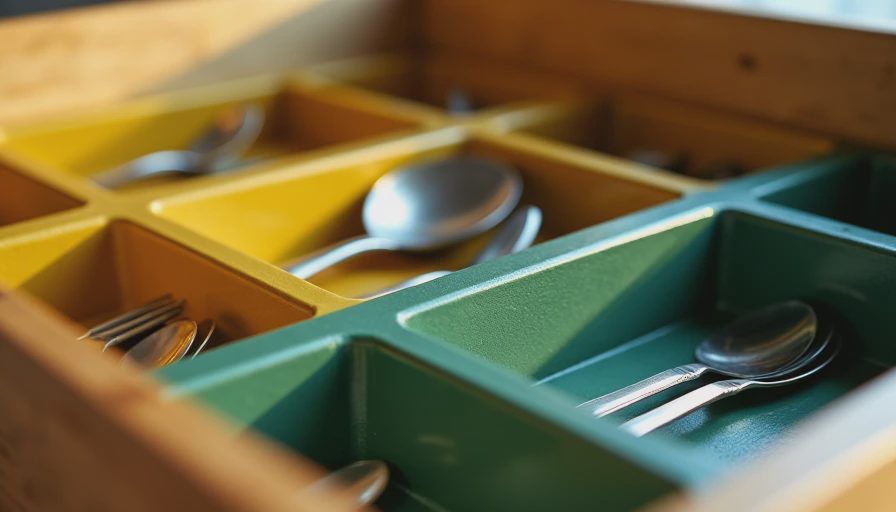
Use a kitchen drawer organizer to create zones, but do not make every zone too precise. One large section for tongs and spatulas is often more useful than individual slots for each tool. Keep handles pointing the same direction when possible. For a family kitchen, place child-safe items in a lower drawer and keep peelers, sharp graters, and knives higher or behind a safety latch.
For a deep drawer, consider a two-level system. The lower level can hold less-used baking equipment while a shallow upper tray stores measuring spoons and everyday tools. Leave enough clearance to lift the top tray without scraping the drawer sides. Before buying, measure the drawer height with the slide fully extended; a beautiful organizer that blocks the drawer from closing is an expensive lesson.
What I would buy for common drawers
For a standard 24-inch flatware drawer, I like a five-section expandable bamboo tray in the $25 to $45 range. It fills the width, has enough room for serving spoons, and looks more intentional than several loose bins. If your drawer is only 18 inches wide, choose a compact four- or five-compartment model rather than forcing an expandable tray to its minimum setting.
For a cooking-tool drawer, a modular kitchen drawer organizer with two long compartments and one narrow divider is more versatile than a traditional flatware grid. Expect to spend $15 to $40. OXO, madesmart, and Rev-A-Shelf each offer different approaches, so compare dimensions and return policies rather than shopping by logo.
For a rental or a temporary refresh, a $12 plastic tray with rubber feet can be entirely sufficient. Spend the money on fit, not finish. In our old apartment, a basic white tray kept spatulas organized for three years; a handsome oversized bamboo insert lasted one week because the drawer could not close around it.
A five-minute reset that keeps it working
Once a month, remove the organizer and vacuum crumbs from the drawer corners. Wash the tray according to its material, then dry everything completely before replacing it. Check for tools you have not used since the last reset. If a gadget has been pushed to the back three times, it probably belongs in a less convenient location.
Reassess after cooking a full meal. Did you reach over another person? Did the drawer jam when you returned the tongs? Did a spatula fall behind the tray? Those details tell you more than a product photograph. A kitchen drawer organizer succeeds when cleanup takes fewer movements and everyone in the household can find what they need.
My final advice is simple: measure first, group by task, and buy fewer compartments than you think you need. A flexible kitchen drawer organizer will adapt when your cooking changes, while a rigid grid locks you into someone else's idea of a kitchen. A great kitchen does not happen by accident. It happens by how you live in it, one well-placed drawer at a time.





No comments yet — be the first to share a thought.