Henry was standing on his step stool, pancake batter was drying on the cabinet handle, and Jack was insisting that our island should move three inches to the left. This is exactly when a room planner becomes useful. Not because software can understand a five-year-old's enthusiasm for cooking, but because a clear plan shows whether your ideas fit before you order cabinets or call a contractor.
A room planner is a digital tool for arranging walls, cabinets, appliances, furniture, lighting, and walking paths to scale. Some options are free, including IKEA's planning tools, Roomstyler, and Planner 5D. Others are built into cabinet retailers' services. The best choice is less about photorealistic images and more about accurate measurements, easy revisions, and a layout you can test against real life.
Start with measurements, not mood boards
Before opening a room planner, measure the kitchen twice. Record wall length, ceiling height, windows, doors, radiator covers, plumbing locations, electrical outlets, and the direction each door swings. Write measurements in inches, and note whether trim or baseboards reduce usable wall space. A beautiful digital plan is only as useful as the numbers behind it.
Measure existing appliances too. A standard 30-inch range is not the same as a 36-inch professional-style model, and a counter-depth refrigerator still needs room for its doors to open. Include handles in the clearance. I once reviewed a plan where the refrigerator technically fit, but its door blocked the pantry when opened. On paper it was efficient. On Tuesday night, it would have been maddening.
When using a room planner, create the shell first. Draw the walls, then place openings and fixed obstacles before adding cabinets. Save that version as “existing conditions.” You can return to it if an ambitious island or new pantry starts taking over the entire design.
Use the room planner to test movement
The classic work triangle connects the refrigerator, sink, and cooking surface. It remains a helpful starting point, but modern kitchens often have several cooks, a dishwasher near the sink, and children moving through the space. A room planner lets you test those overlapping paths instead of treating the kitchen as a diagram with only one user.
Aim for comfortable working space around the sink and range, then protect the main walkway. A kitchen aisle around 42 inches often feels workable for one cook, while two cooks usually appreciate closer to 48 inches. These are planning guidelines, not universal laws; cabinet depth, appliance doors, and household habits matter more than a magic number.
Try placing the dishwasher beside the sink and opening it in the drawing. Can someone pass behind you? Can a child reach the water dispenser without entering the cooking zone? Can you unload plates directly into a drawer? These small tests reveal more than a rendered image of a marble countertop.
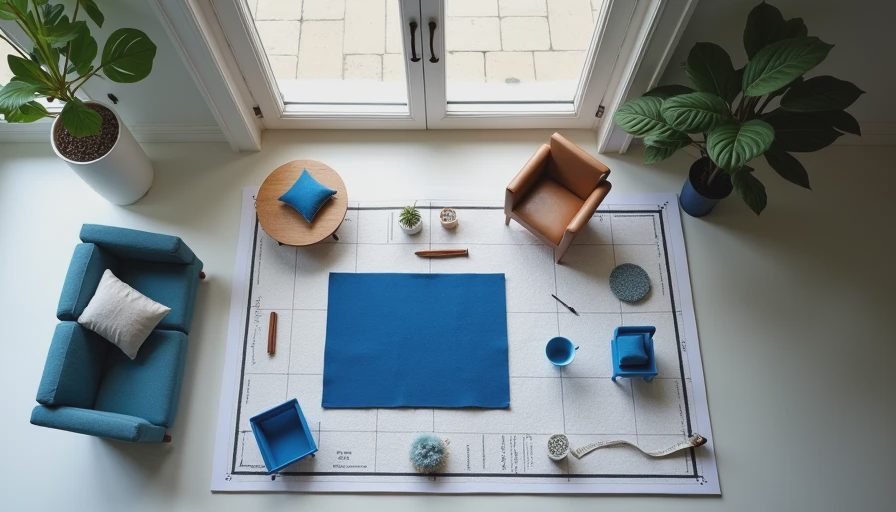
I also make a second version with no island. That sounds less exciting, but it exposes whether the island is genuinely useful or simply filling an attractive center space. In our own kitchen, the island earns its footprint because it holds prep space, stools, and the mixing bowl Henry uses for weekend baking. If it only held decorative trays, I would reclaim the floor area.
Plan storage around the way you cook
A room planner should show more than cabinet fronts. Assign a job to every major storage zone. Put pans near the range, knives and cutting boards near the main prep counter, mugs near the coffee maker, and lunch containers near the refrigerator. A deep drawer that looks generous in a 3D view can become a black hole if it is too far from where the contents are used.
Use cabinet dimensions deliberately. A 24-inch base cabinet may hold baking sheets better with vertical dividers, while a 36-inch drawer stack can accommodate pots, mixing bowls, and a small step stool. Upper cabinets are useful for lighter items, but a pantry pullout or full-height cabinet may give better access to cereal, canned tomatoes, and the appliance you use twice a year.
Place the trash and recycling where prep happens, not automatically beside the sink. In our house, that decision reduced vegetable peels on the floor because Henry can scrape a cutting board without carrying it across the room. The best storage plan is not the one with the most capacity. It is the one that removes repeated little annoyances.
Add lighting before choosing finishes
Many room planner programs make lighting look like decoration, but it is part of the kitchen's function. Mark general ceiling lighting, under-cabinet task lighting, and a fixture over the island or table. A single central fixture can leave your body casting a shadow across the counter while you chop. That is a design failure, even if the fixture is beautiful.
Use the plan to check sightlines too. If pendant lights hang over an island, make sure they do not block the view between the cook and the person sitting at the stools. For a family kitchen, I like warm, dimmable lighting for dinner and brighter task lighting for food preparation. Under-cabinet strips with a continuous diffuser usually look calmer than a line of visible bright spots.
A room planner cannot tell you exactly how a paint color will look at 4 p.m. in a Chicago winter, but it can show whether your lighting locations support the room. Add outlets near the coffee station, charging area, and countertop appliance zone before the walls close.

Compare budget choices in the same layout
The smartest use of a room planner may be comparing materials without changing the basic footprint. Duplicate the file and make one version with stock cabinets, laminate counters, and a standard slide-in range. Make another with custom cabinet storage, quartz, and a larger appliance package. You can then see which upgrades change daily function and which only change the picture.
For example, moving from a $3,000 refrigerator to a $6,000 model might add capacity, but it will not fix a poor landing area beside the fridge. Adding a $150 drawer organizer may improve access more than spending $1,000 on a decorative cabinet finish. Prices vary by region and installation, but the comparison exercise helps keep priorities visible.
Bring the plan to cabinet showrooms and contractors. Ask them to confirm filler pieces, panels, toe kicks, appliance clearances, and finished end requirements. A room planner is a planning aid, not a construction drawing. Cabinet companies and installers should verify the final dimensions before anything is ordered.
A practical room planner checklist
Start this week by measuring the room with a steel tape, photographing every wall, and labeling each photo with its location. Enter the measurements into your chosen room planner, then save an existing-layout file before experimenting. Create one version with your preferred island and another without it. Open every appliance door, mark the main walking route, and place storage according to actual cooking habits.
Next, test the plan during a normal evening. Imagine unloading groceries, washing produce, making coffee, helping with homework, and taking something hot from the oven. If two people need the same narrow space, revise it. If the trash can blocks the dishwasher, move it. If the plan requires every family member to behave perfectly, it is not finished.
Print the final layout at a readable scale and write notes directly on it. A great kitchen does not happen by accident. It happens by how you live in it. The best room planner is simply the tool that helps you notice those patterns before they become expensive cabinets, awkward aisles, and a pancake-batter-covered handle you regret every morning.



No comments yet — be the first to share a thought.